#10 Best Seller in Gloss Cladding

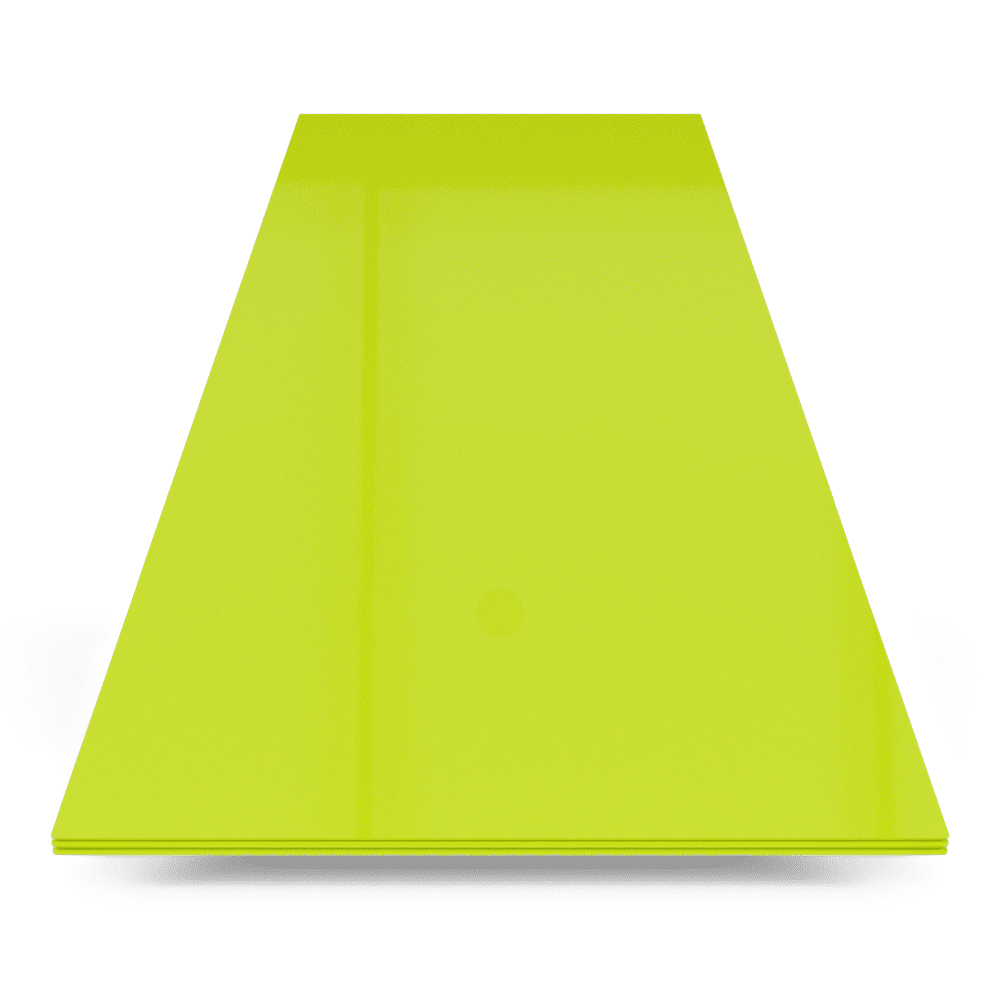
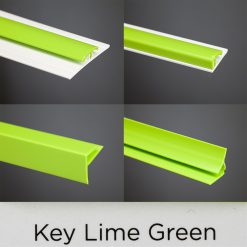
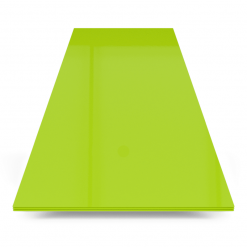
Cladding Monkey Gloss | Lime Green

From £76.95 (ex. VAT)
From £92.34 (inc. VAT)

need it Wednesday? order within

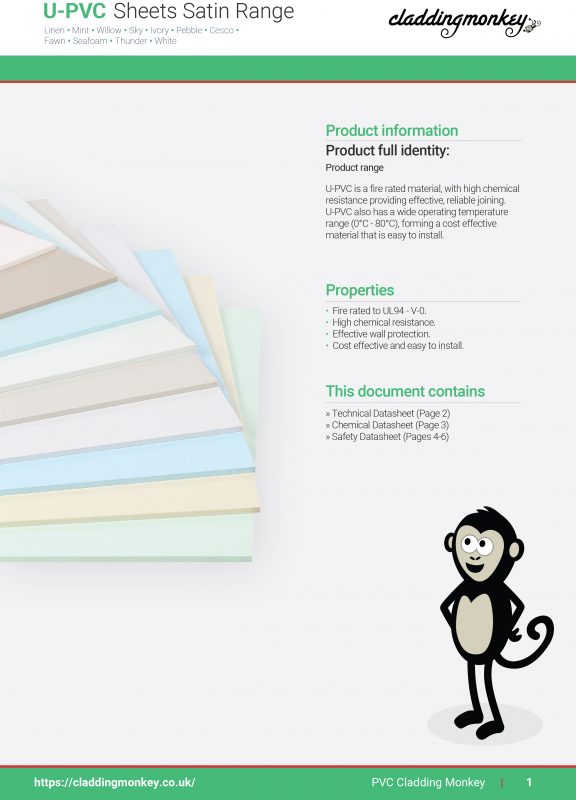
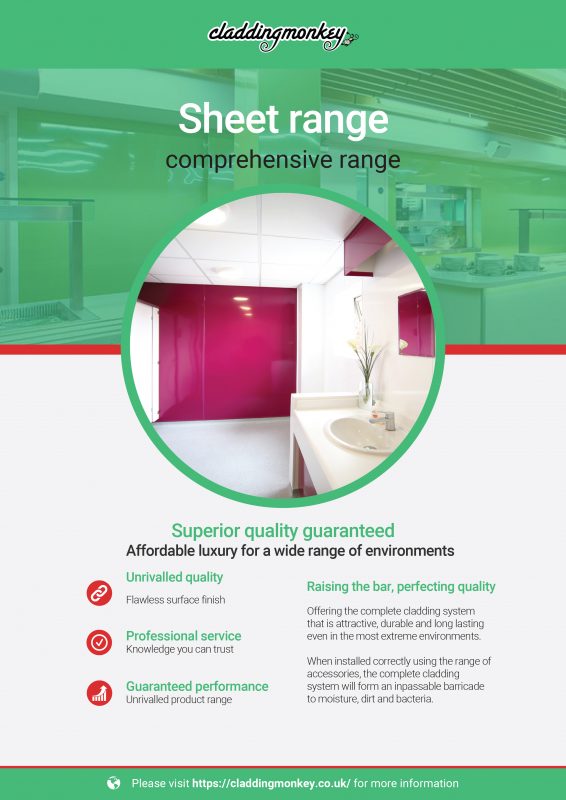
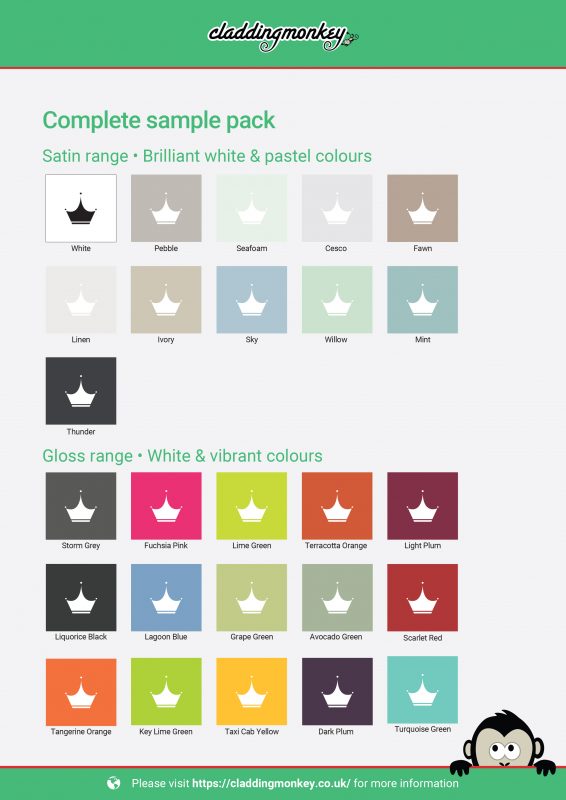
  • LIME GREEN GLOSS -Highest Quality COLOURED PVC sheets
  • 2.5mm SOLID PVC Hygienic Cladding Sheets
  • Food Grade | High Chemical Resistance
  • Class 0 fire rating, HIGH impact resistant
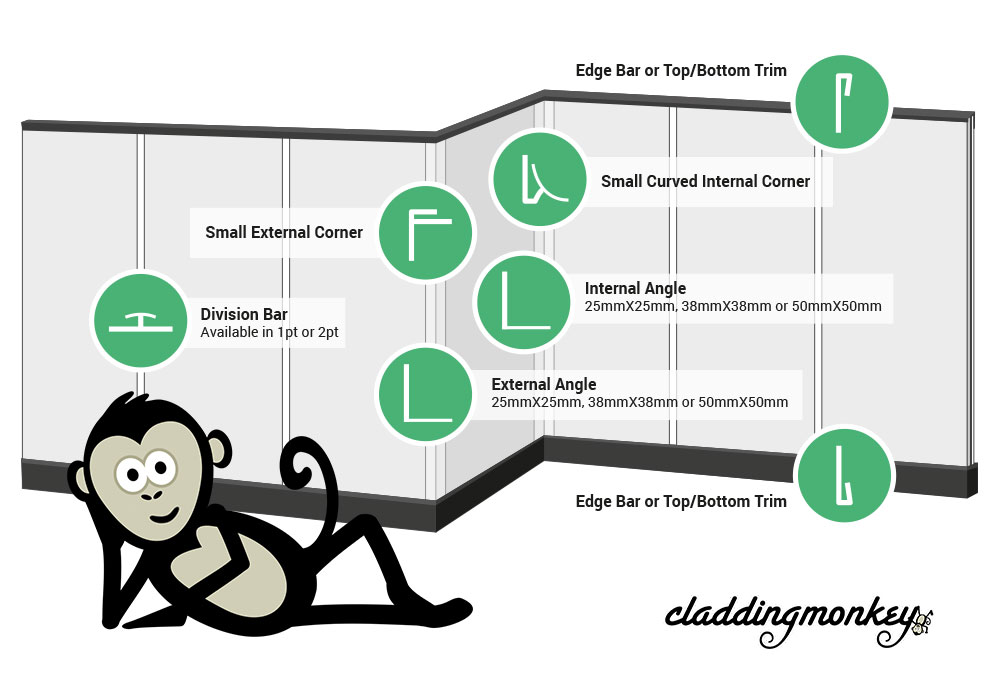
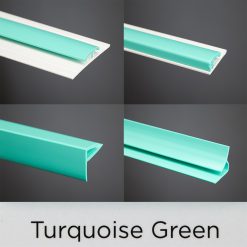
  • Matching Profile Trims Available (see cladding trims in top menu)

*Very popular alternative to White, adds a bit of class/design to your project.

  1+ 15+ 50+ 100+
8ft x 4ft £76.95 £75.41 £74.64 £73.87
10ft x 4ft £96.15 £94.23 £93.27 £92.30

Useful Links

Tutorials
Downloads

Our Cladding System

click image below to view

Cladding Monkey Range – Lime Green Gloss

Widely recognised gloss coloured hygienic cladding sheets specified by UK Architects and Quantity Surveyors.

Suitable for Restaurants, Kitchens, Wet Rooms, Showers, Splashbacks, Changing Area’s, Healthcare, Hospitals etc..

Colour

Lime Green Gloss

Select Size

8ft x 4ft (2440mm x 1220mm), 10ft x 4ft (3050mm x 1220mm)

Thickness

2.5mm

Other Colours

Turquoise Green, Lime Green, Avocado Green, Grape Green, Lagoon Blue, Fuschia Pink, Light Plum, Dark Plum, Taxi Cab Yellow, Liquorice Black, Terracotta Orange, Storm Grey, Key Lime Green, Tangerine Orange, Scarlet Red

Fire Rating

Class 0 British Standards 476 Part 6/7, Class 1 British Standards 476 Part 6/7

Technical Data Sheets

Delivery

Cladding Monkey offers a very competitive and reliable delivery service.
We can offer a NEXT DAY service, 2-3 day or ECONOMY delivery service. All costs are calculated at the checkout page.

Installation Tutorials

Cladding installation is easy. Take a look at our short video with a thorough guide on how to install our hygienic wall cladding.

Individual Tutorial Video Clips

Step 1 – Tool Selection

Welcome to the Cladding Monkey installation guide. Before starting, let’s gather all the tools needed:

  • Tape measure
  • Jigsaw
  • Hacksaw
  • Rubber mallet
  • Marker pen
  • Combination square
  • Laser level or spirit level
  • Mixing device & 4mm notched trowel If you plan to use the 2-part adhesive
  • Wipes
  • Application gun
  • Adhesives & silicones
  • Work table

Step 2 – Surface Preparation

24hrs before starting work apply watered-down PVA solution to the wall, so all particles are completely removed, allowing you to install PVC cladding onto a clean surface.

Step 3 – Setting Level

The capping and transition base should align at the bottom of the wall and sit on either the floor, skirting or worktop – use a laser level or spirit level to ensure this is the case.

The decision to cut the sheets will depend on the total height of the ceiling.

Using the single part adhesive, place the trim on the predetermined level, then use your hand to apply pressure.

Use masking tape to hold the profile in place, then leave it for as the duration stated on the adhesive.

Step 4 – Measuring Cuts

Measure the cladding area and mark the final placement for each sheet from sockets to switches to pipes.

If corners fall within the cladding area, for sheets to fit they may need to be adjusted – check the levels of the walls to check if this is the case.

Remove part of the film from around the edge of the sheet, so it doesn’t become trapped in the profiles when fitted.

When cutting the sheet, firmly hold down the sheet, as when using a jigsaw, excess vibration could cause it to break.

Step 5 – Adhesive Preparation

There are 2 different adhesives, used to stick the sheet to the wall, for 2 different situations:

  • For full coverage the two-part adhesive is recommended
  • For quick installations the cartridge adhesive is recommended, for internal or external use

When working with the two-part adhesive, mix solutions a and b with a drill fitted mixing paddle. Mix for at least 2 minutes for an even consistency.

Step 6 – Adhesive Application

Using a four mm notched trowel, spread the mixture evenly over the non-filmed side of the sheet. 

But remember – to allow for the 2 part joining strips – leave a 15mm gap around the sheet’s outer edge.

When working with the cartridge adhesive, this will also be applied to the non-filmed side of the sheet, but this time, use an application gun.

We would always advise to apply lines of adhesive as shown.

Step 7 – Fitting Sheets

Make sure the board and wall is dust, dirt, oil & debris free before applying the adhesive. Always use the sealant in horizontal lines as vertical lines makes it tougher for the adhesive to stick.
Always ensure even coverage across the whole board.

There are 2 main roles in this process;

The first focussed on guiding the sheet into the base trim 

And the second focussed on holding the sheet away from the wall.

Preferably you will have 2 people present – one to handle each role.  If this isn’t possible you can always use some glass suction cups, to easily position the sheet. 

The sheet should only be pushed against the wall, once it’s been fitted into its base trim. It’s crucial that the sheet is correctly placed before it’s smoothed over with your hand or a rubber mallet to fully spread the adhesive. This is because the two-part adhesive dries very quickly.

Step 8 – Fitting Accessories

Due to their sensitivity to temperature, PVC materials may expand and contract marginally once fitted.

This is why a 2mm expansion gap between the cladding sheet and the centre of the two-part vertical joiner is pivotal. 

If the sheets require cutting, the two part vertical joiner will also require cutting.

Fit these using a small bead of adhesive and slide behind the sheet.

Please refer to our profiles information sheet on our website for information of the two corner choices available – both of which are offered in different sizes.

In short, the first type is an internal or external 90 degree angle – simple to use and cut, with the ability to be stuck to the wall with adhesive.

The second being an internal and external corner section – clip the chosen corner piece onto the next sheet to go on the wall once the sheet has been fitted up to said corner.

Then run a bead of adhesive down the edge of the previously fitted one, before joining this next sheet up to it and fit onto the wall.

In order to fill any minor gaps which may present themselves, you can use our food grade silicone.

Next, trim the join of fronts and transition tops with a hacksaw. Then remove the protective film and clip the relevant join of fronts into place.

The cladding can now be wiped down.

If any further support if needed, do not hesitate to contact our team on 01642241777 or download our detailed hygienic cladding installation guide.

Installation Guide

Installation Guides

In this section you will find PDF files containing official technical data and information for all our products. If there is specific information you require that isn’t on our website, then please contact us.

Ranges

U-PVC Sheets Satin Range

Sheet Range

Profile Range

Adhesive Range

Silicone Range

Cleaning Guide

Colour Guide

Adhesive Comparison Guide

Adhesive Range Overview

Installation Guide